During Development for Fractured Dream, 3D modeling proved to be a pivotal part of the workload. I will share my techniques for creating assets for the entire game world of Fractured Dream.
Organic Modeling
Starting this off with small assets modeling things like rocks, bushes, trees and more. Blender was the choice modeling program.
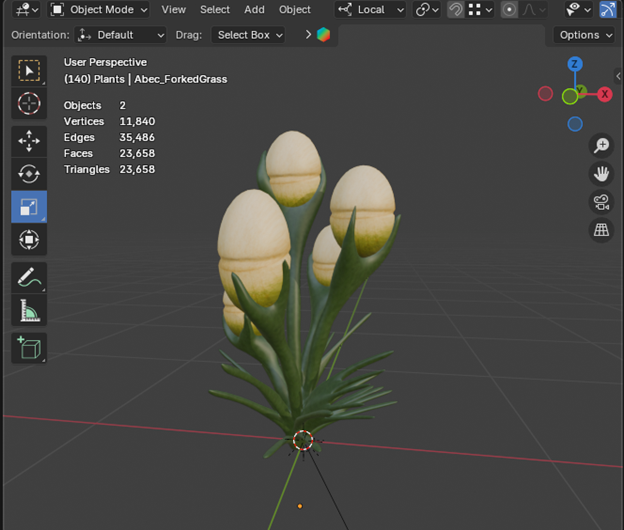
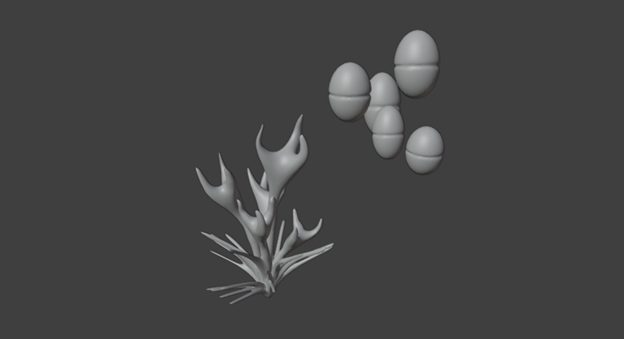
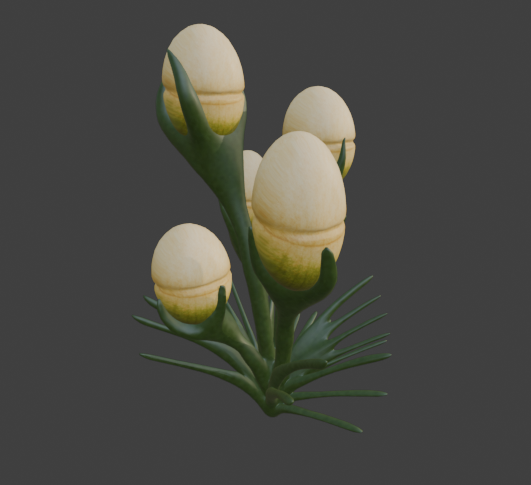
(Pod Plant)
In particular most small plants were created using standard modeling practices, sculpting and moving vertices in edit mode.
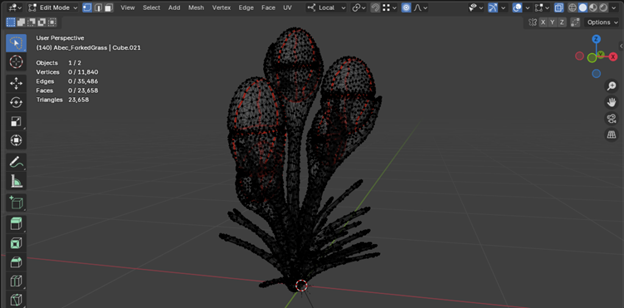
Edit Mode
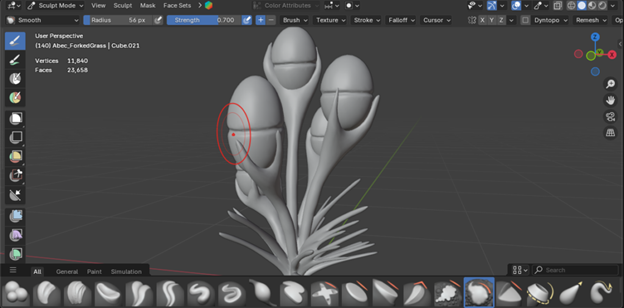
Sculpt Mode
For a variety of reasons this was chosen as the preferred method of asset creation against other options like, photo scanning, Gaussian splatting, and full procedural workflows. Three big reasons were for this method, full artist control over each assets look, feel and design. Stress tested for performance impact and manual ability to reduce the impact each asset gave the game. The last reason was caused as the game is set on an alien world, can not really photo-scan real object and easily “alienify” them.
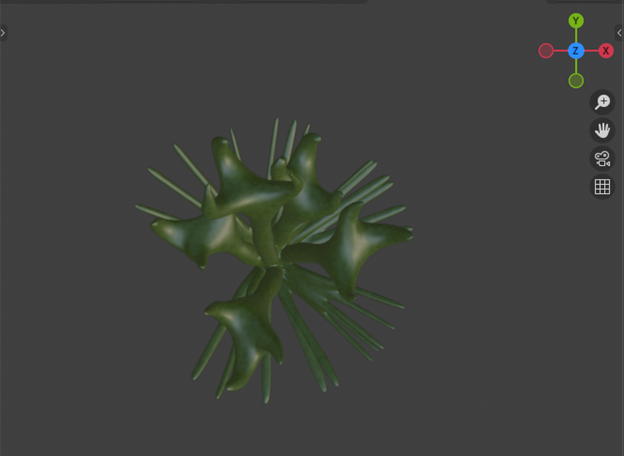
While the standard hand modeling worked extremely well for most objects, some objects had better effects using blender geometry nodes (geonodes) workflow.
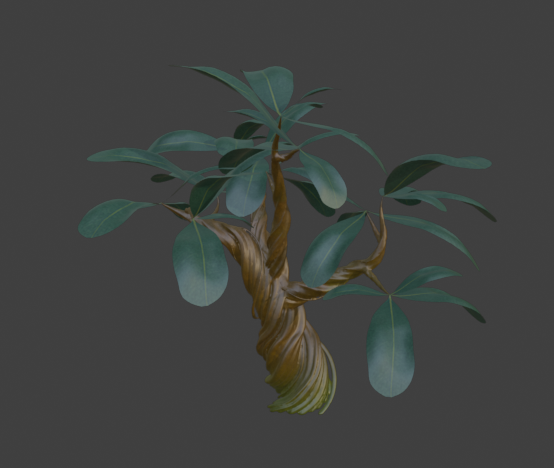
This tree’s trunks were mainly created using blender geometry nodes
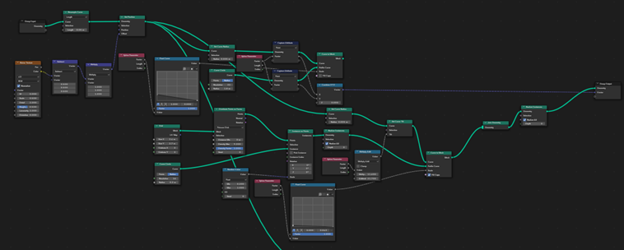
Full geometry nodes graph for creating the spiral stump. (General Idea came from ALL THE WORKS’ video https://www.youtube.com/watch?v=x18QCCuFy3k&t=73s)
After taking the geometry nodes trunk, which was extremely high in poly count, I used the decimate tool in edit mode to reduce topogopy down to a reasonable number. Then I used the remesh tool to solidify the gaps between each spiral
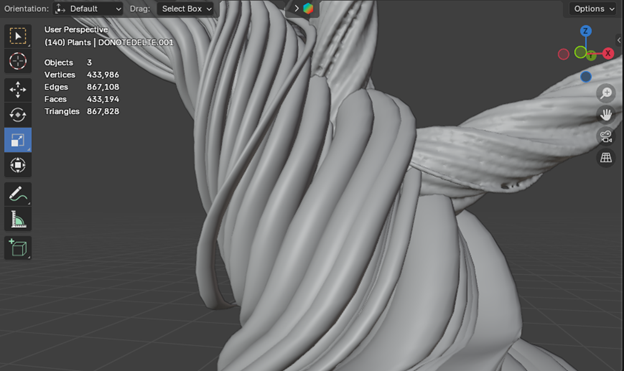
Pre Decimate and Remesh
(867k triangles)
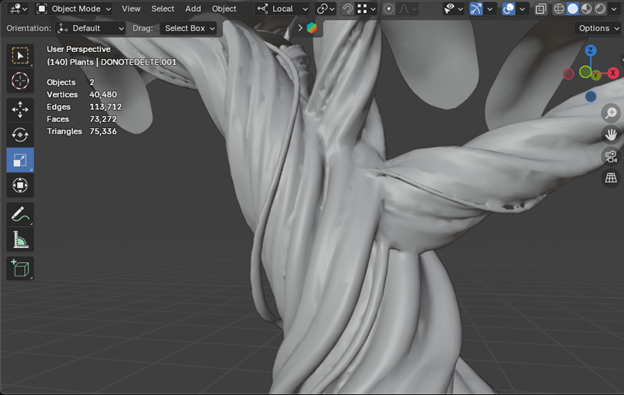
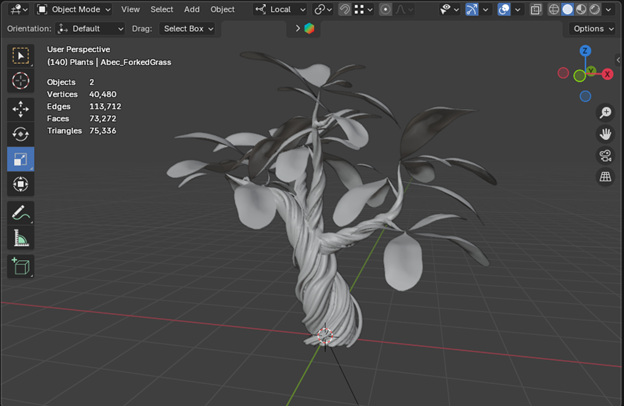
Post Decimate and Remesh
(75k triangles)
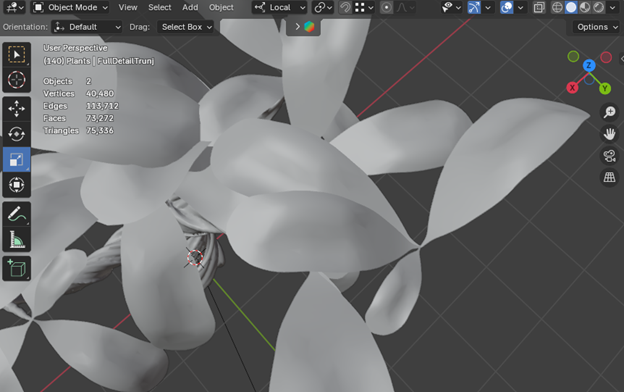
The high triangle count caused after the decimate and remesh is caused from the addition of the leaves. Which were created by taking a single leaf and placing them around the tree, and using sculpt mode add individual detail to break up repetitiveness.
21k triangles
Both these processes were used to create most of the objects found inside of Fractured Dream. Distribution of smaller modeled elements onto larger elements used geonodes as well.

The “Hairs” and stem were both individual modeled using standard modeling practices while the placement of the hairs onto the stem was procedurally placed using geonodes
Texturing
Coloring these models proved to be the more difficult mission of the two, as I am terrible with making colors look good.
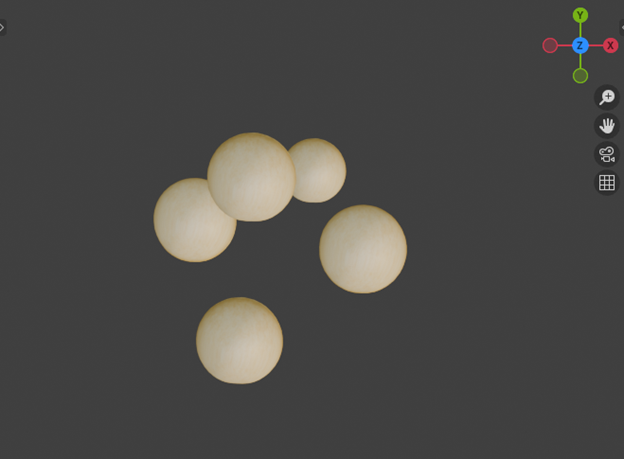
Creating the texture for the pod plants for a reference on this process, I started by separating what would require different textures into different objects.
Separation of the pods and plant pieces to have easier access to each separate texture.
The pods UV’s were created using a project from view bounds
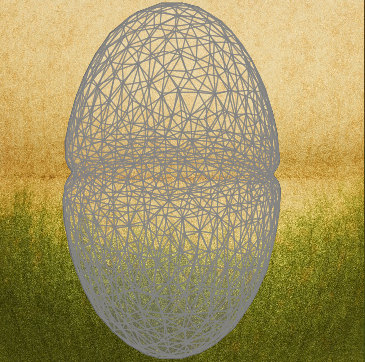
This is the UV image laid on top of the actual pod texture.
While the plant was able to use a auto unwrap more effectively
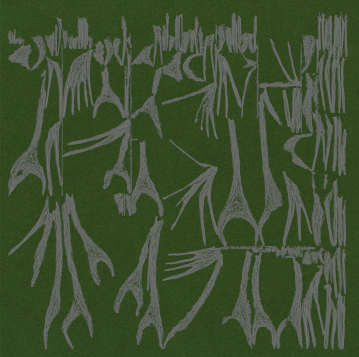
UV wrapping laid on top of plant’s texture
The reason behind the between the different strategies was symmetry.
Pods viewed from top down view (shown in x,y plane)
The pods were basically symmetric around the z-axis (the were mostly oval), I could effectively take a picture from a 2D view losing either the x or y dimensions and capture all the data,
This was not true for the plant part.
The plant was completely asymmetric and no specific view could capture everything, so It most be “split” into small pieces that can then be flatted out across the image.
Plant viewed from top down view (shown in x,y plane)
Final result
These are the two large texture processes used, another was matching the model to the image. The model was created directly from the image itself.
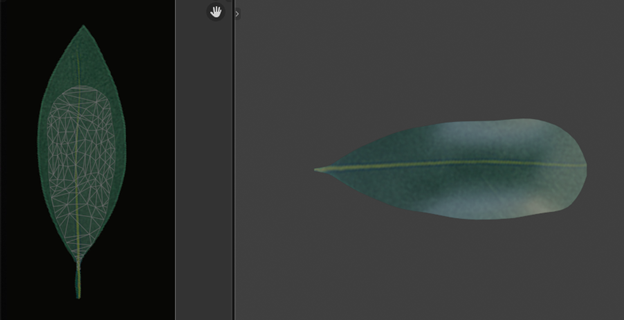
Left side is the UV image laid on the texture, the right is the model itself.
The last process was actually in UE5 not blender and it is triplannar mapping. This method I only used for large objects that could not be traditionally UV Unwrapped as the objects are so large it would be a guarantee to get stretching artifacts, or repetition. Triplannar mapping is a process that takes the image texture used and maps it 3 separate times, once for each axis, then blends using the object normal as the blend weight.